Disclaimer, Tetra Hearing is a sponsor of The New Hunters Guide and I earn from qualifying purchases using their links and code. I did buy these devices with my own money, though I did receive a discount as their partner. They have given me other devices and gear in the past. Thanks to Tetra Hearing for their support.
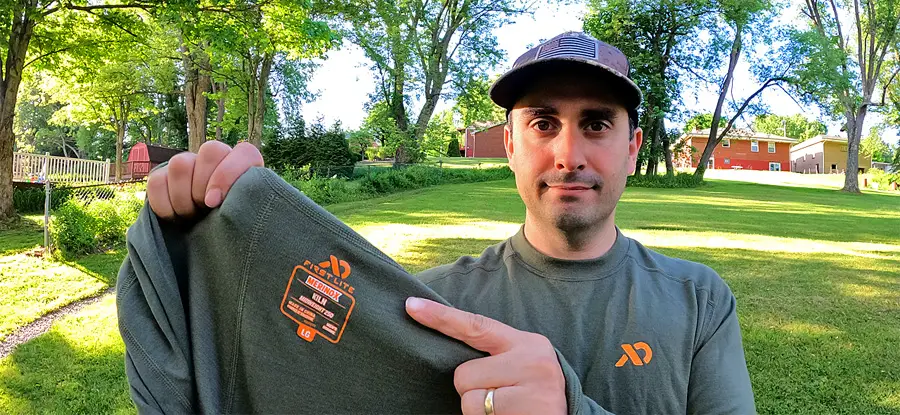
I have hunted with the new Tetra CustomShield Multi-Pursuit with Bluetooth for the past two seasons. I was honored to be one of the first people ever to buy this model as soon as it was released. These are the most advanced digital hearing augmentation and protection devices on the market that I am aware of.
I have been an active and avid Tetra user and did a review of the Tetra AlphaShield last year. I can tell after using the AlphaShield for nearly 3 years at this point that they lack nothing and have changed my life as a hunter. But the CustomShield adds so much that I didn’t even know could be added, they are truly impressive and deserved their own review.
Tetra makes various grades of both the AlphaShield and CustomShield with different features, prices, and technologies. For the sake of simplifying this review, unless I specify otherwise, I am talking about the Multi-Pursuit version of each product.
Tetra does make single pursuit devices, optimized just for one type of game, such as waterfowl or turkey hunting. Those are good if you only hunt one thing and want to save some money. I hunt ducks, turkey, deer, pheasants, and more, so for me the Multi-Pursuit is key. If you are considering the single pursuit version of either device, everything in this review is still relevant to you, just keep in mind you will only have devices set for one type of game.
Main Features
The Tetra CustomSheild does everything that the AlphaShield does and more. You can visit my AlphaShield review to see lots of detail, or watch this video:
But I can summarize the key features of the Tetra’s into three main points and then a few secondary point.
First, they are calibrated to support your current hearing. You take a hearing test before ordering the devices, so they come set for your ears. They can compensate for varying levels of hearing loss in each order to help restore lost hearing and balance your hearing. It is as if you are wearing perfectly calibrated hearing aids, because you are. You put these on, and you can hear everything happening around you as well or better than with your naked ear.
Second, the moment you pull the trigger on a firearm, the devices detect sound levels above the safe range and shup off the sound going to your ears. They become instant hearing protection. They reduce the sound of a magnum shotgun with a ported choke tube to something that sounds about as loud as a BB gun. And if you have other sounds that are unsafely loud like high volume calling, power tools, you name it, they lower the volume of those things to safe levels also.
Third, Tetra has developed patented audio algorithms that can recognize the sounds of the game you are hunting and amplify those sounds while filtering out sounds you do not want. If you are hunting ducks, it can amplify the sounds of quacks, whistles, flapping wings, splashes in puddles, etc while filtering out sounds that are unhelpful, like squirrels running across dry leaves.
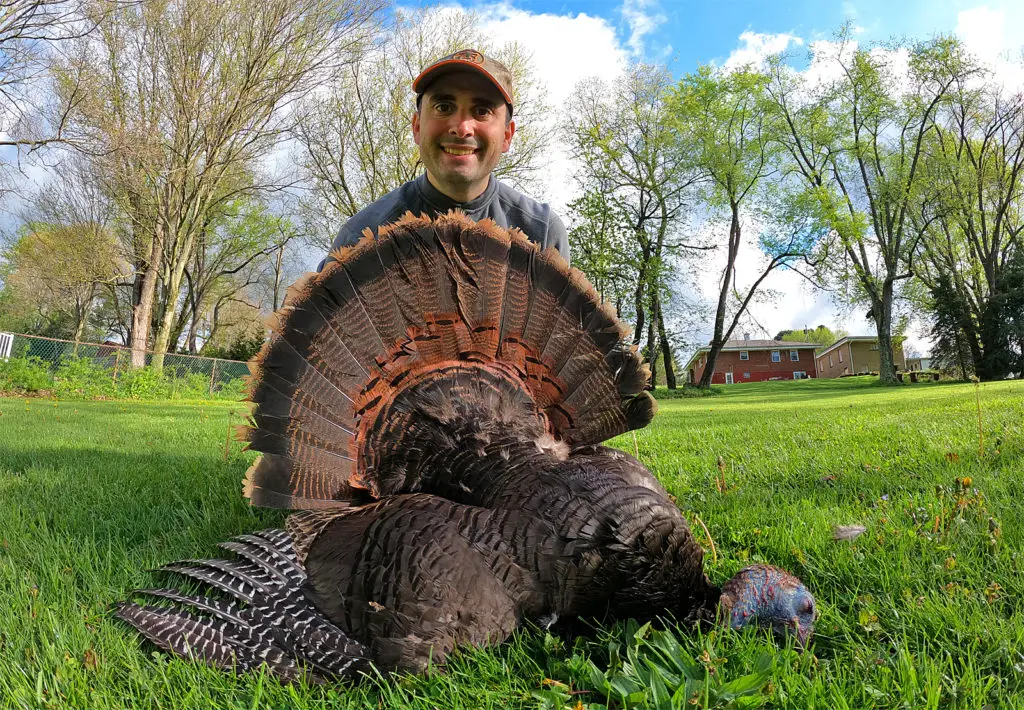
So, whether you are hunting waterfowl, turkeys, deer, elk, upland game, and more, you pick that setting and you can hear your game more clearly and from further away than with the naked ear. The Multi-Pusuit devices can be set for up to six different types of game that you can easily cycle through with the tap of a finger.
Even if your hearing is perfect to start with, I wholeheartedly believe that the Tetras give you a significant hunting advantage being able to hear game from further away. And if you have any hearing loss at all, their impact in this area is greatly increased.
Secondary Features
- The Tetras also do a great job at filter our wind noise. Often, I do not even know it is windy unless I feel the wind. People ask about this all the time because many other similar types of devices do terribly with wind. Tetra nailed it here.
- They can either be rechargeable or use disposable batteries. I personally prefer disposable batteries because I can always just change them and have full power. I do not have to worry about forgetting to charge them. And the disposables are not very expensive and last for several days of straight hunting, and weeks if you just leave them in the devices on the shelf.
- The CustomShield comes with adjustable volume controls while the AlphaShield has preset volume options. At first, I preferred the presets to adjustable volume. But only until about halfway through turkey season. Then I realized the adjustable volume is superior. For walking in, I can set the volume to a low or middle level, so I am not annoyed at amplifying the sounds of everything, like my shoelaces bouncing on top of my boots. Then once I reach my spot and get setup and completely quiet, I can crank up the volume to hear birds from impossible distances. They are smartly designed so you can adjust them while in your ear and wearing a hat doesn’t change the volume level on you unwittingly.
- Adjustable volume also means you do not need to use up your limit of 6 audio programs with boost modes for your regular game resets. You can save all 6 slots for different game animals. I did an entire video on the subject of How To Pick Your Audio Programs for the AlphaShield if you want more info.
- BlueTooth is a big deal for some people. I do not use it much in the field while hunting. But this feature empowers you to use the CustomShields for more than just hunting. This feature is vital for when working outside with machinery, cutting grass, running a chainsaw, loud equipment, etc. You can wear the devices for hearing protection and use the blue tooth to listen to music, audiobooks, and podcasts, It is also nice for slow lonely days in the blind or in a tree.
- There is a lot to say about the custom fit, more than I expected, so that gets its own section.
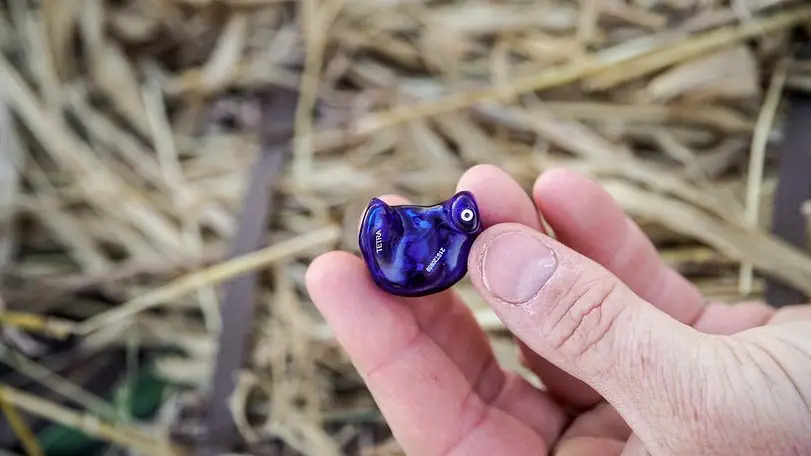
Custom Fit Makes A Huge Difference
The biggest question I had is does the custom fit really matter? Isn’t the universal fit AlphaShield good enough? Yes, it is good enough, and yes, the custom fit really does make a big difference. They say the AlphaShield fits 95% of ears well. They always fit me good. They were a little tight early on but eventually they felt fine. I often forgot I was wearing them. But after long days of hunting, it did feel good to take them off.
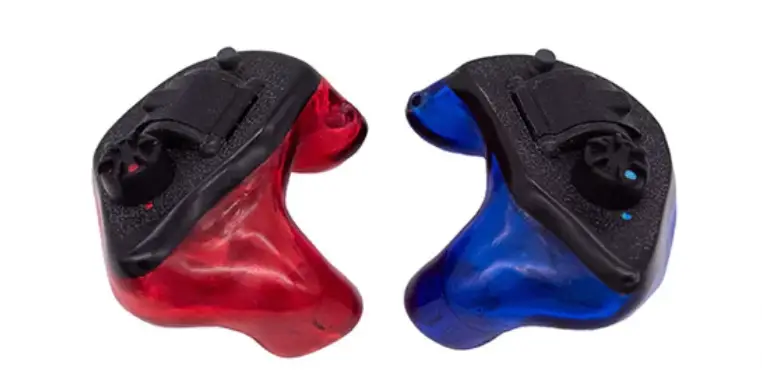
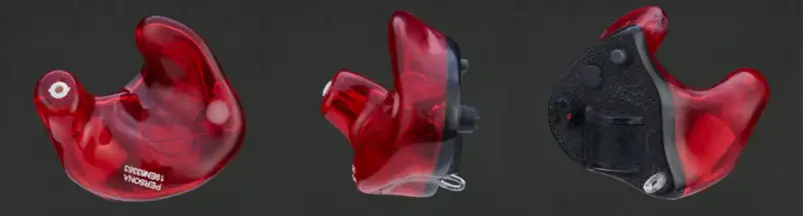
The CustomShield is molded to fit your exact ear, to have a perfect seal, and to be perfectly comfortable. They do three. They feel so good in your ear that you could wear them all day, every day, and not even know you have them on. The level of comfort is surprising. When the end of the day comes around my ears are not tired, stretched, irritated, or fatigued from having them in. There is no other ear protection I’ve ever used that I can say that for. Nothing feels that good after entire days of use. If you hunt often or long, the CustomShield is worth every extra penny.
They also give you more security that they are fully sealed against your ears. Which isn’t a huge deal, but it is appreciated. Using the CustomShield is a different experience, it is a whole different level of comfort and performance. Also, I should note that from the pictures, I could not understand how these things would stay in your ears and not fall out. But they do a great job of staying in your ears. I have total confidence in them. The design is excellent.
Durability & Serviceability
It is easy to think of these device as being more fragile and high risk than they really are. They are a significant investment, but they are also fairly rugged. According to Tetra they are “hunting proof” which means they are built to stand up to any weather, temperature, conditions, or use you may encounter responsibly hunting any of the game they are designed to hunt. You should not drop them in the water but you can wear them in the rain.
All of the Tetras are also very easy to service. If something breaks, chances are they can fix it at little or no cost. If the microphone breaks, they have new ones they can put in. If a circuit board gets fried, they can replace it relatively inexpensively. Broken battery door, cracked casing, put them through the wash cycle and drier… Tetra can often repair them very reasonably.
So, while it is a significant investment, it is not some fragile thing you may accidentally damage and be out all of the money. So long as you don’t run them over with your car int he driveway, Tetra can likely get you back in the game at little to no extra cost.
Cons & Concerns
I want to say that the Tetra’s are utterly perfect. But like anything, there are some cons to be aware of.
The Squeal. If a sideways pressure is put on the devices while in your ears, like a lanyard that is stuck in your shirt when you turn your head, the impacted side makes a bit of a squeal sound in your ear if the volume is turned up. It’s not a problem, it’s easy to correct by getting the lanyard unstuck, and game can’t hear it, but it can be annoying. Especially if you don’t know what I just told you about why it’s happening and how to fix it.
Volume Overload. If you turn them up all the way or almost all the way, they can be way too loud. So loud that a sparrow landing on the ground 20 feet away sounds like an elk walking through the woods. On one hand it’s kind of cool that you can crank them up that far, on the other hand, you almost never want to do that, you will always think game is approaching.
Bluetooth Wire. The Bluetooth is not wireless, you have to plug a wire into both devices that kind of works like a lanyard with volume controls on it. It’s totally fine, but I was expecting wireless Bluetooth. The devices are wireless for their regular functions.
Ordering Process & Ear Molds. It takes a bit of time to get these. You have to schedule an appointment to get ear molds done at a hearing center, clinic, or doctor. I did it at Sam’s Club and they didn’t charge me anything. But often you’ll have to pay something out of pocket. Then you mail in your molds, email your hearing test results, and put in your order. Then it takes a few weeks for them to build the devices to fit your ear, program them, and send them. It takes about a month from the moment you decide to get the CustomShields to them arriving to your house. The AlphaShield’s come much quicker, within days.
What To Buy First?
If you are new to Tetra, what should you get first? The AlphaShield or the CustomShield? This is a big question that people ask, and understandably so because the CustomShield costs a chunk more. There are alot of factors to consider, like your budget but also your situation. Do you only hunt ducks and nothing else on a shoestring budget? Then get the AlphaShield single-pursuit waterfowl model. But if your budget has room in it, I would go right for the CustomShield, most of the time.
Another thing to keep in mind is who else do you or may you someday hunt with. If you have a young a child that will eventually go hunting with you, then you lose nothing by getting the AlphaShield today and the CustomShield down the road because you can give the universal fit AlphaShield to your child once they grow into them. But if you are not in a situation where you may foreseeably buy more than one model over the next few years, then I go right for the CustomShield if you can.
Why Upgrade From AlphaShield to CustomShield?
Why would someone with perfectly good AlphaShields upgrade to the CustomShields? That is a significant additional investment. But there are several good reasons to consider it.
- The custom fit is wonderful, and you are hunting more days and/or longer days now.
- You have a child or friend you want to be able to use your old ones.
- The Bluetooth can be a big factor.
- You want to upgrade the audio technology from the 60-Level to the 90-Level for better sound clarity and noise cancelation.
- You need to upgrade from single-pursuit models to multi-pursuit so you can use them to hunt more things.
- Overall, you have gotten used to “good” and you are now ready to step up to “great”.
- Or like me, you have been a hearing enthusiast and wanted every tactical advantage the new technology could give along with the added comfort and long-term wearability. And yea, after years, part of me wanted to see first-hand how good the CustomShield really is so I could know and be able to tell you about it.
Pricing & Discounts
As of this writing the Tetra CustomShield starts at about $1,100 and the fully loaded versions go for much more. The AlphaShield starts at around $750 with various higher levels. Lots of people, including me initially recoil at the price. However, lots of people will spend much more than that on a new factory shotgun that will do very little to improve their hunting effectiveness. And lots of people will spend drastically more money on vehicles to haul their decoys and gear and get them better trail access. They will reason those purchases away because they use the truck or the ATV for “other things”, but they bought it for hunting.
You can get a Free 2-Year Service Plan when you purchase a set of Tetras, which is a $275 value. Just add this Service Plan to your cart and use this code at checkout to get the service plan for free: NEWHUNTERSGUIDE
That stacks on top of any sales or discounts Tetra is running. The code only works when both the service plan and a set of Tetras are in your cart at the same time.
I whole heartedly believe that we could change the lives of every hunter if instead of their next gun upgrade they instead got a pair of Tetras, and put the gun purchase off for another season or two. I fact, that is exactly what I did. I spent money I could have used on a fancy shotgun to get this pair of CustomShields, and I have no regrets. The shotgun will come in time, but I think the Tetra’s actually help me take more game than the shotgun would have.
It is also worth noting that you can apply HSA (Health Saving Account) funds towards buying a pair of Tetras. And depending on your situation, the Tetra’s may possibly be tax deductible as well. But please seek expert counsel on that for yourself, I am not a tax specialist by any means.
The Danger
Did you know that about 86% of hunters do not use any kind of hearing protection? That is 86% of hunters who are losing a measure of their hearing with every trigger pull, season after season. That is 86% of hunters who will likely end up with at LEAST moderate hearing loss, which puts them at a 300% higher risk of Altheimer’s and dementia. Not to mention all the other complications caused by hearing loss, like decades of spending thousands of dollars every few years for new hearing aids…
Lots of folks that have hearing loss from shooting also experience ringing in their ears that never goes away, white noise, pain, and other uncomfortable issues for the rest of their lives. Protecting your hearing is exceptionally important.
Every shot you take without hearing protection has a cost, and the next shot could be the one that costs more than you ever thought possible. That is sometimes how it goes, minimal damage from years of hunting then one shot takes half of your hearing or worse. Other times people think it’s not affecting them, then after years they all at once realize they can’t hear very important sounds, like a child calling their name. Don’t believe it? Ask a doctor of audiology who has been seeing patients for a long time.
Conclusion & Recommendations
I am very obviously a big fan of the new Tetra Custom Shields. They are head and shoulders above all other hearing technology I have yet seen on the market. I also think they make me a better more effective hunter. If it is at all possible for you to get a pair, get them. If not, find something you can use for hearing protection in the meantime. Nothing here is more important than protecting your ears when hunting.
There are lots of cheap options on the market that will still enable you to hunt with some sound and protect your ears. If that is where you are financially, then use those until you are in a position to get some Tetras. If you do nothing just because you can’t have the best, it is a lose-lose. But if you protect your hearing today, you can easily upgrade your technology tomorrow.
Be sure to listen to The New Hunters Guide Podcast, and check us out on YouTube.
Till next time. God bless you, and go get em in the woods!
George Konetes Ph.D. – Founder and Host of the New Hunters Guide.
The New Hunters Guide is simply what George wishes he would have had when learning how to hunt; a single place to get practical hands on knowledge about different kinds of hunting, gear, strategy, and tips that can improve your comfort and fun factor in the woods.